Open Image in Photoshop
Change the name of the file to the name of the person, and open the signature image in Photoshop
Crop the signature to exclude the whitespace on the right (optional)
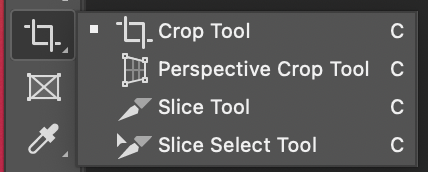
Select the Slice tool
Draw boxes around the parts of the signature you want to add links, one link per slice.

Optionally add links to the slices. You can do this in a later step, so you may try both and decide which works better for you.
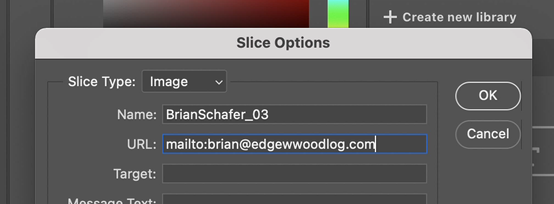
To setup the links, click and hold on the slice tool and choose the slice select tool.

Click on the slice and enter the link in the URL box
Save the file, then choose File>Export>Save for Web
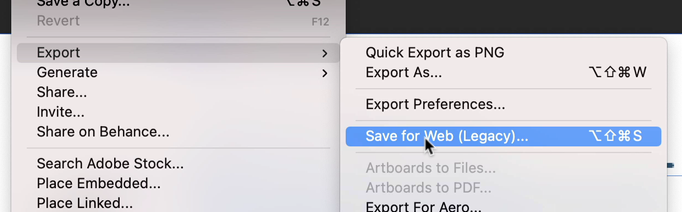
Set as PNG, and click save
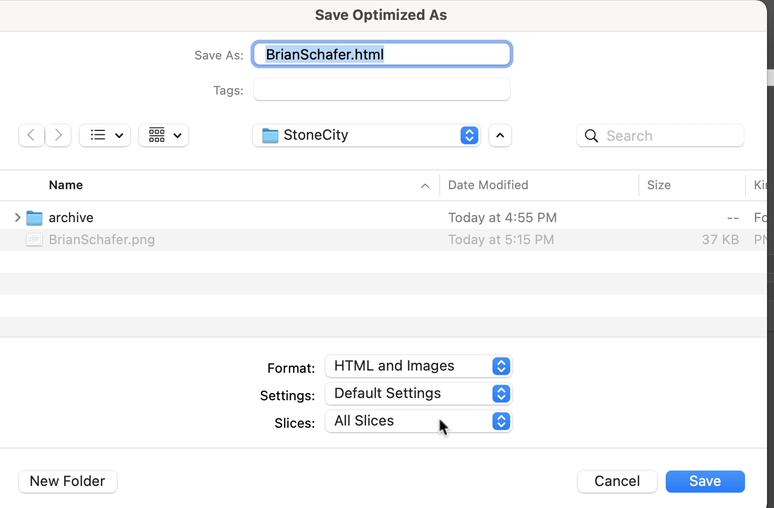
In the following dialog make sure the selections are as they are in this picture:
Back to the webpage
Click the 'Choose upload' button to upload the file you exported from Photoshop
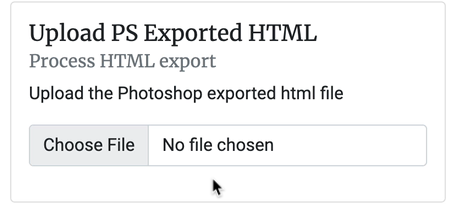
Choose the .html file in the dialog
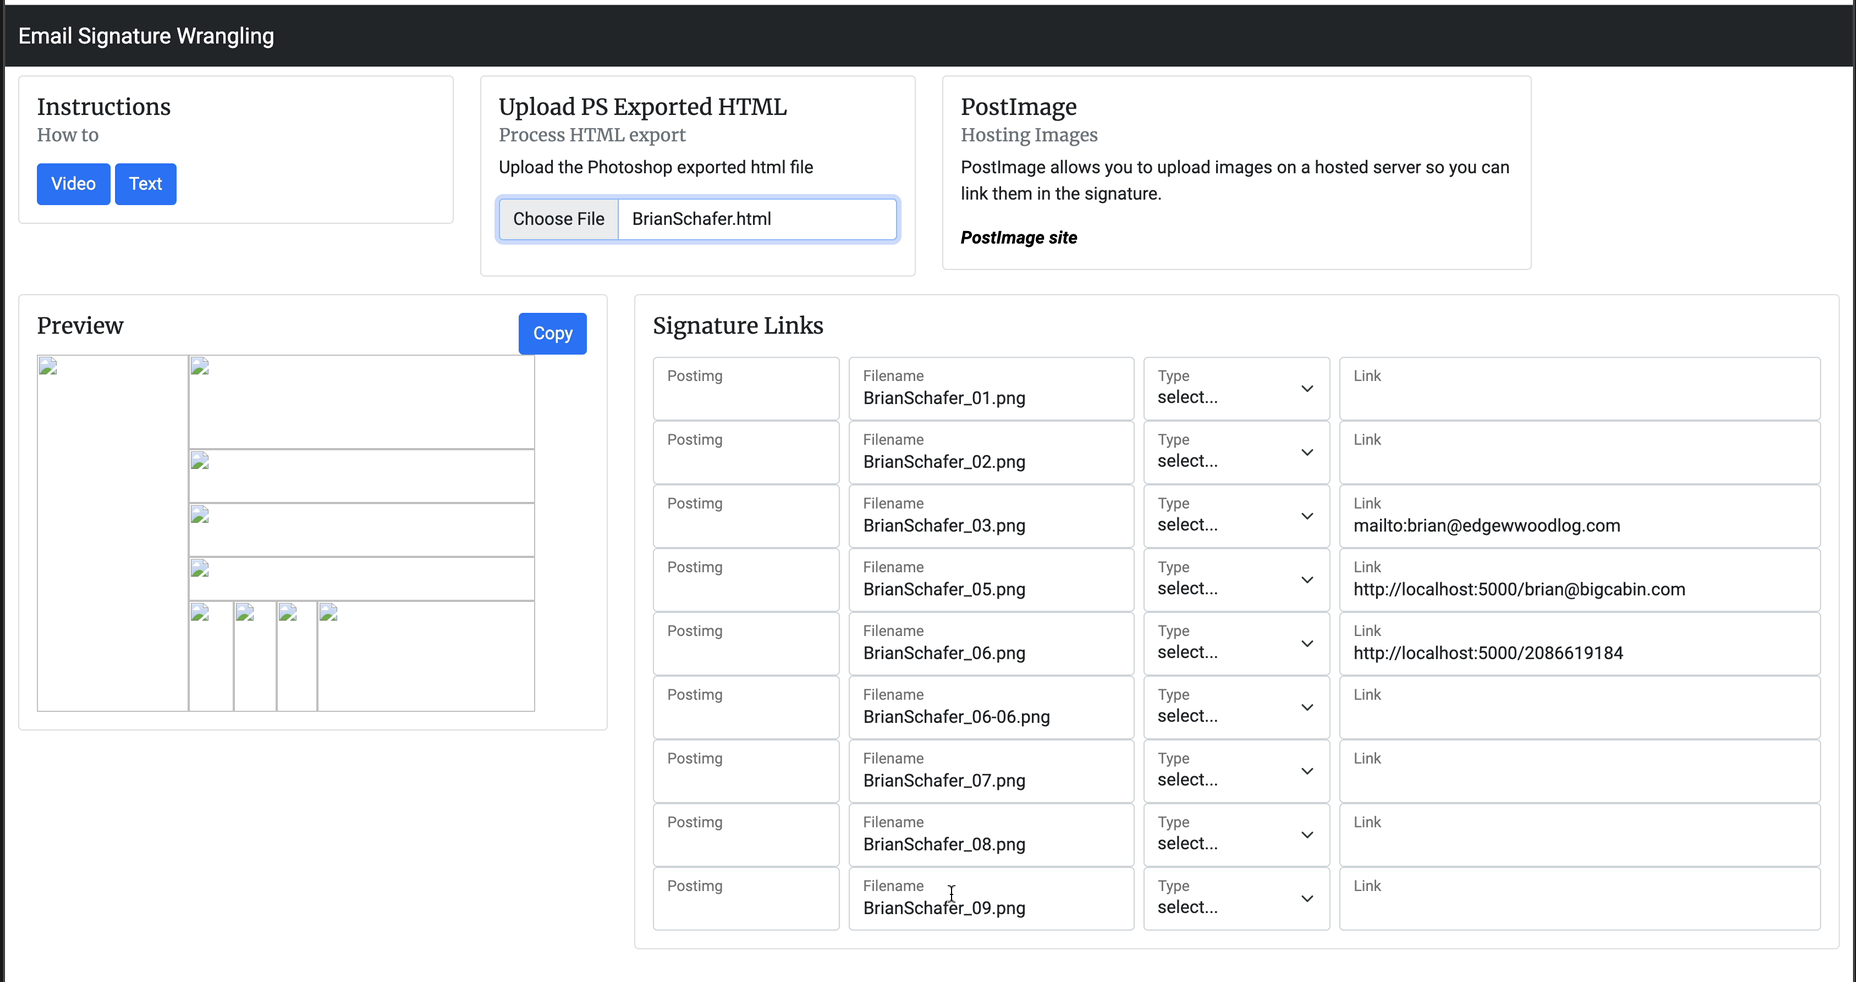
When it loads you will see the layout of the signature and a list of all the images that will need to be linked to the images you upload to PostImages.com - which is next!
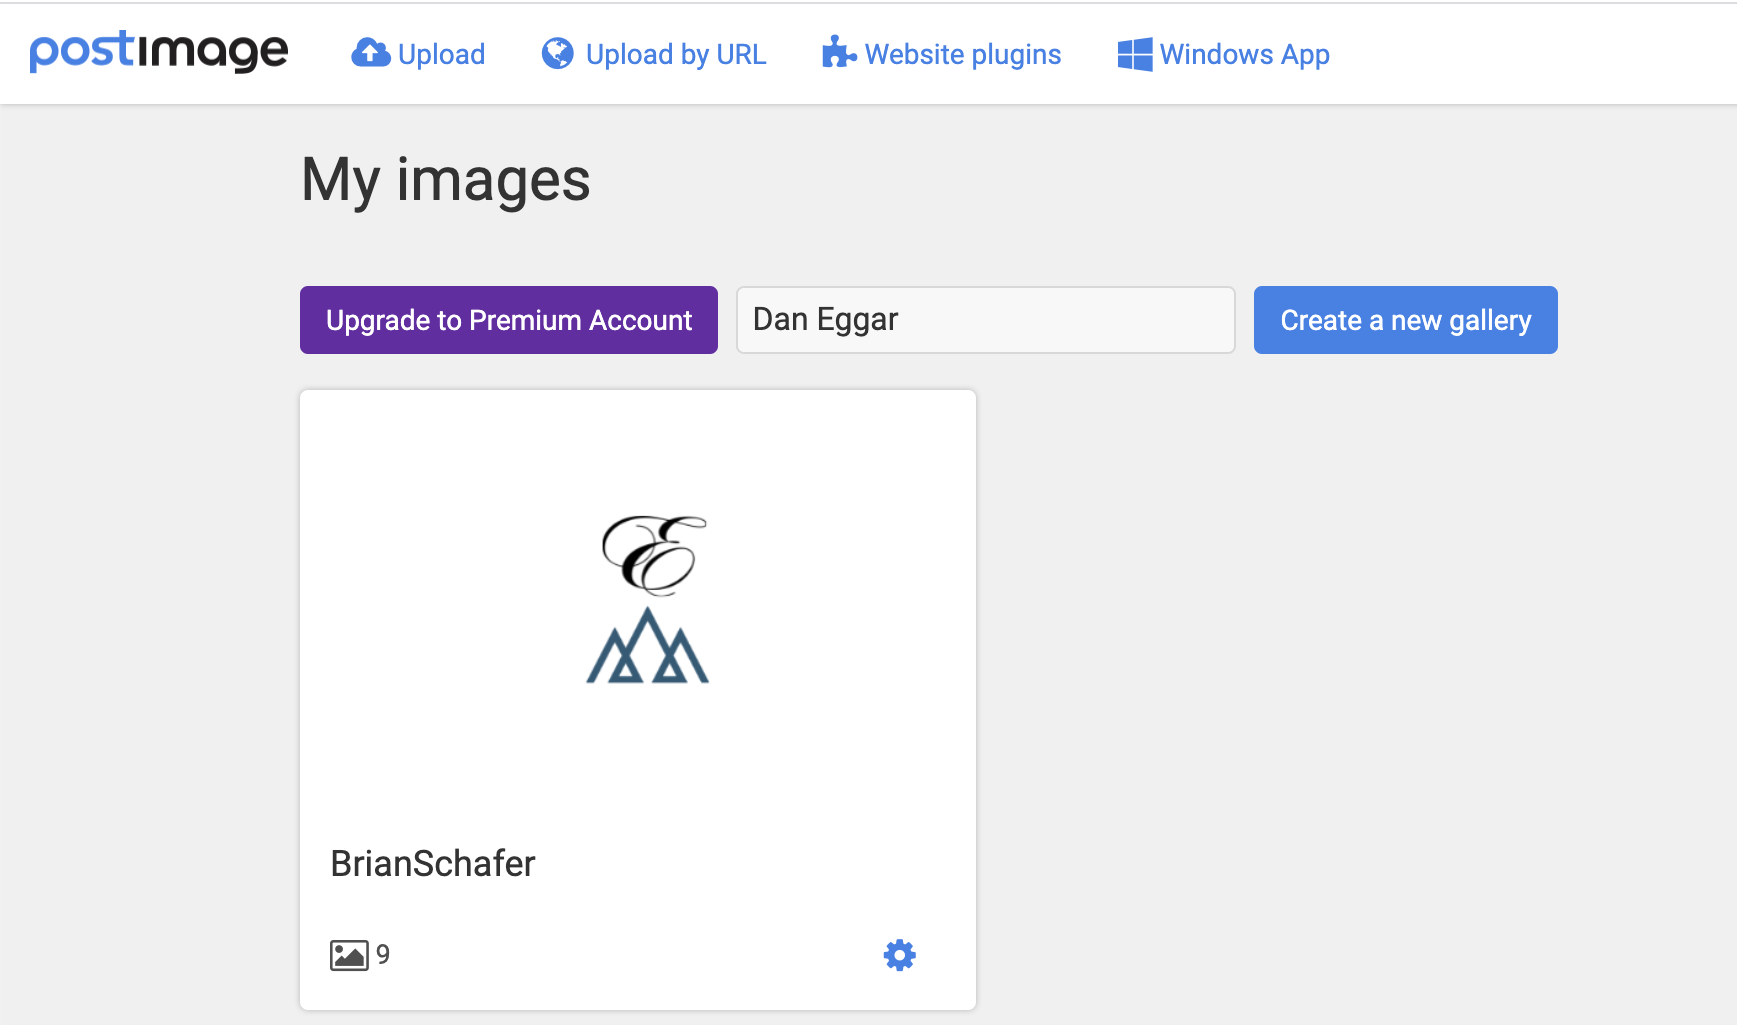
Go to the PostImages website, create an account and log in. You will want an account so you can manage the many images you need for each signature. You will want to make a new gallery for each person. You can create the gallery before or aftter adding the images.
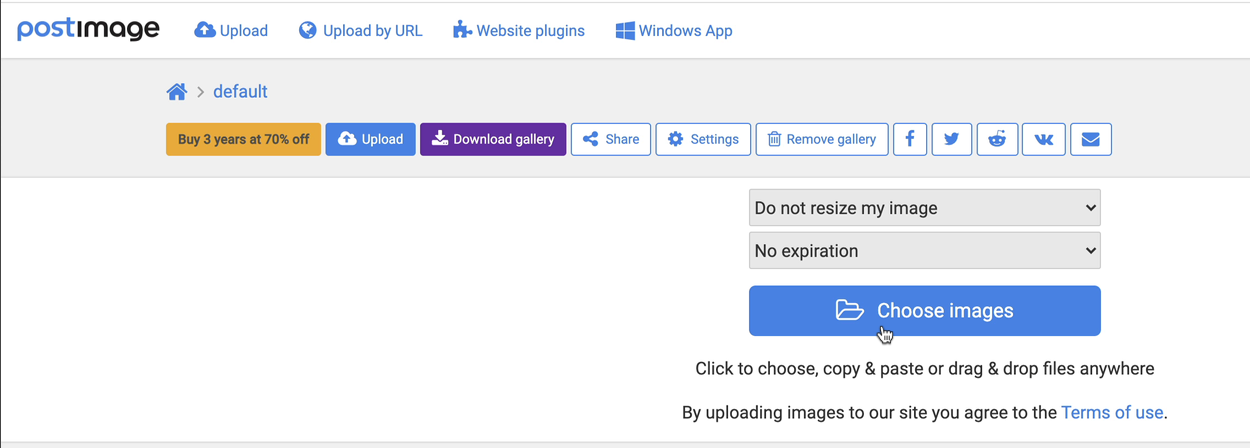
Adding the images is easy. Click the upload images button
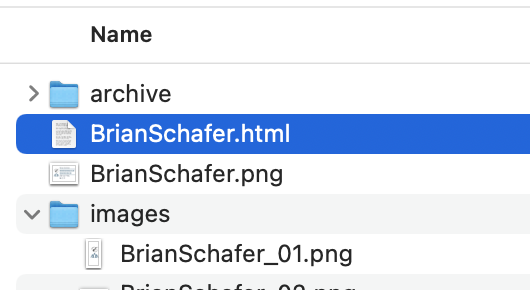
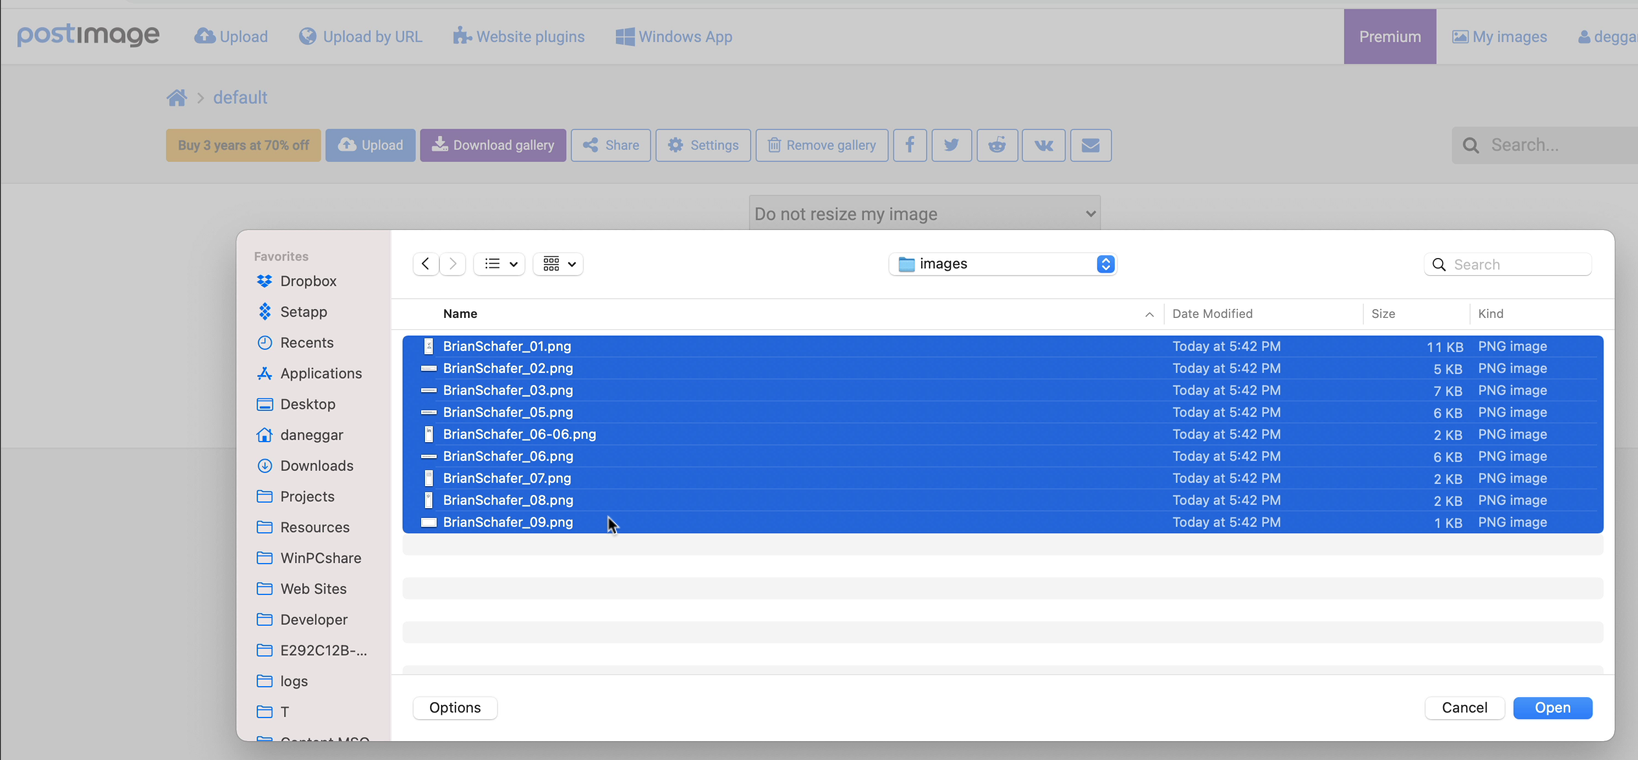
Go to the 'images' folder that Photoshop made and select all the images
You will see all the images and a list of links. You can get to this list of links after initial upload by clicking on the gallery and choosing the 'share' button.
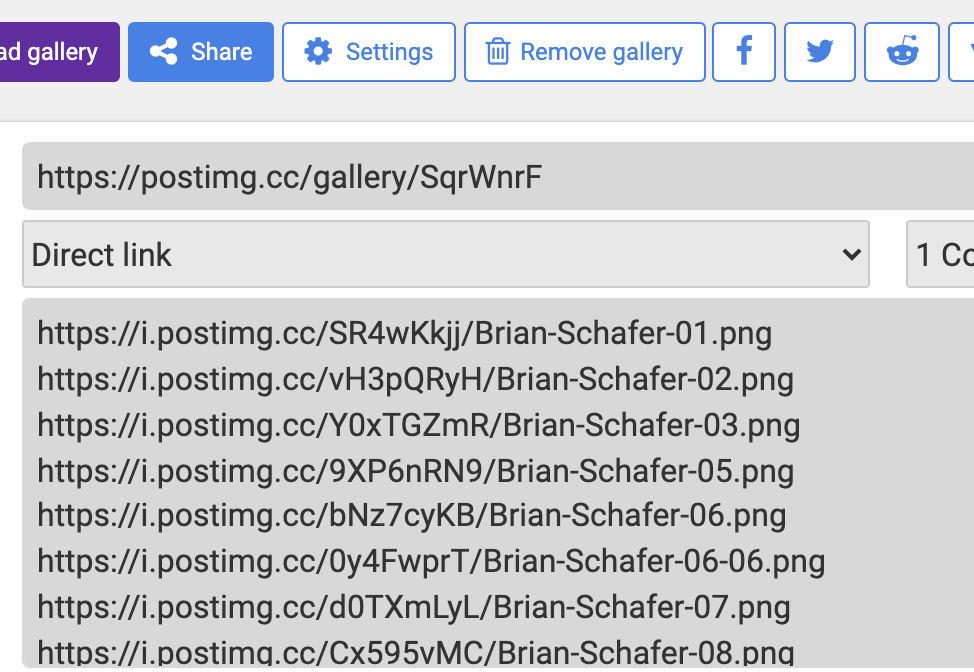
It is easier to see the links when you choose the 'Direct Links' option for 'Codes for all images:'

Here is anexample of the links:

These links have a code between the website name and the name of the file. This is what we need for the images to be linked.

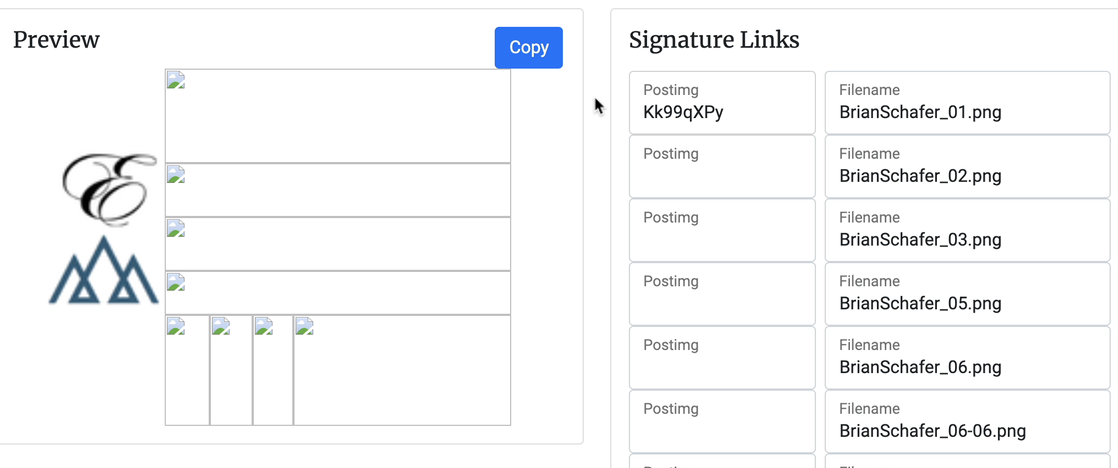
Back on the signature wrangling website, add the code for the filename in the 'Postimg' box.
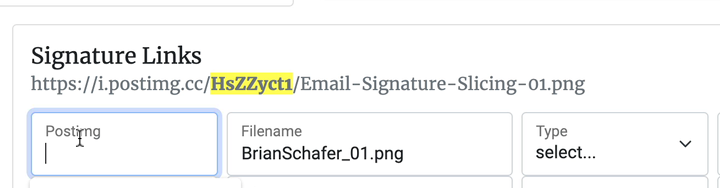
When you finsih entering the code and click out of the box, the image should pop into the preview.
Adding Links
If you added links in the slices, they should show in the link box. You might have to edit them and remove incorrect information. Links need to start with 'http', 'https', 'mailto', or 'tel'

You can enter the link exactly as you want, or use the 'Type' drop down to choose the right prefix. For an email you would choose email and enter just the email address. For social media links, just enter the profile part of the link.
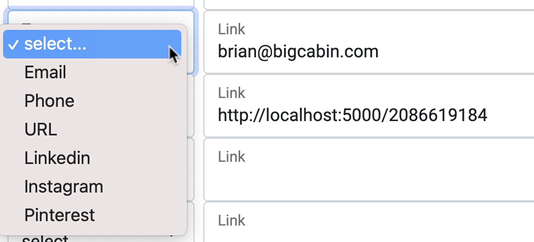
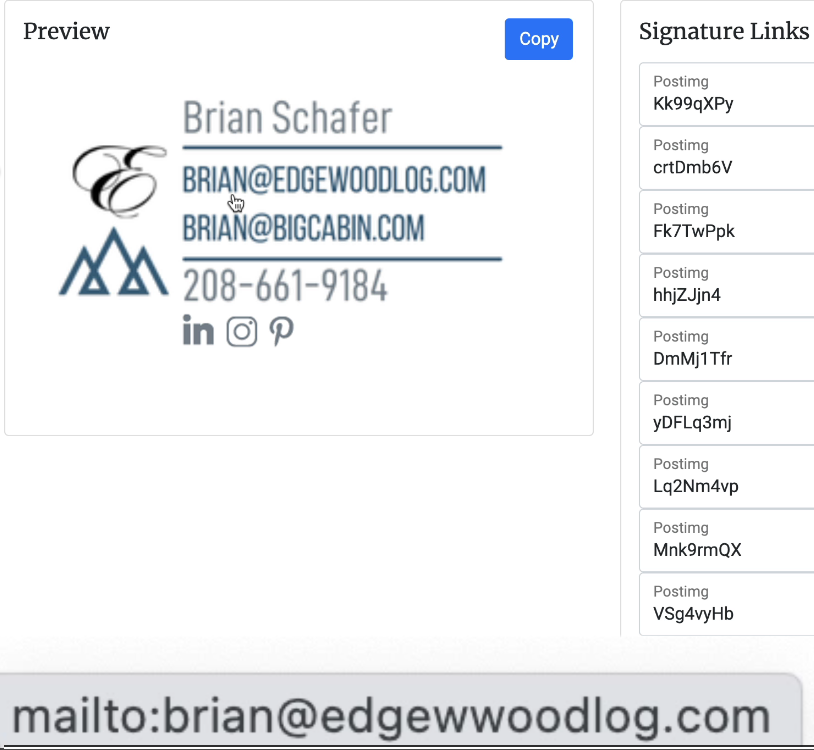
In this example, email is chosen and the email is entered.

When you hover over the linked image you should see the link in the lower right corner of the webpage, and you should click that link to test that it goes where it is supposed to go.
Then Repeat
Do this for all the images, adding links where appropriate.
Then use the 'Copy' button to copy the signature, ready for the email signature composition box in outlook.